Here's a full rundown on the current buildup on my (yet to be renamed) truck!
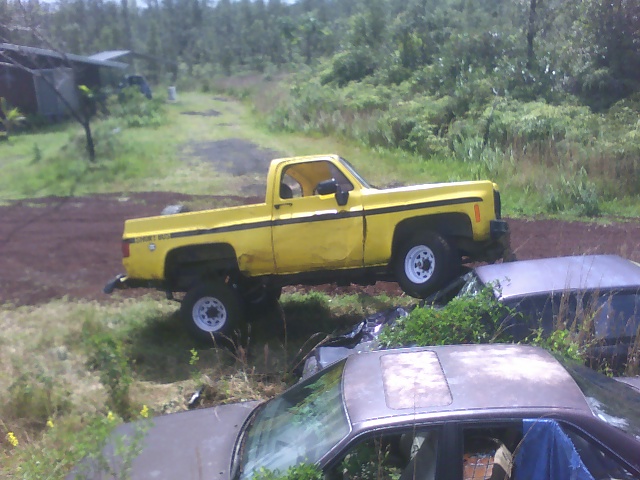
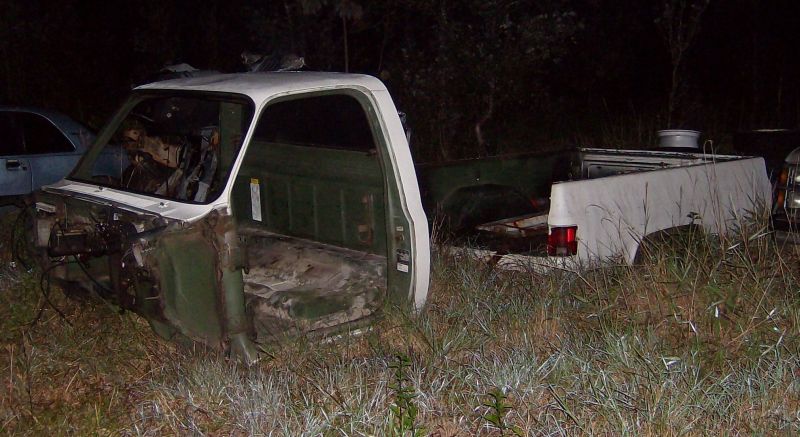
What it looked like before I tore it down. Significant body damage, enough that I couldn't get a safety inspection in Hawaii. 3/4 ton axles, 31's.

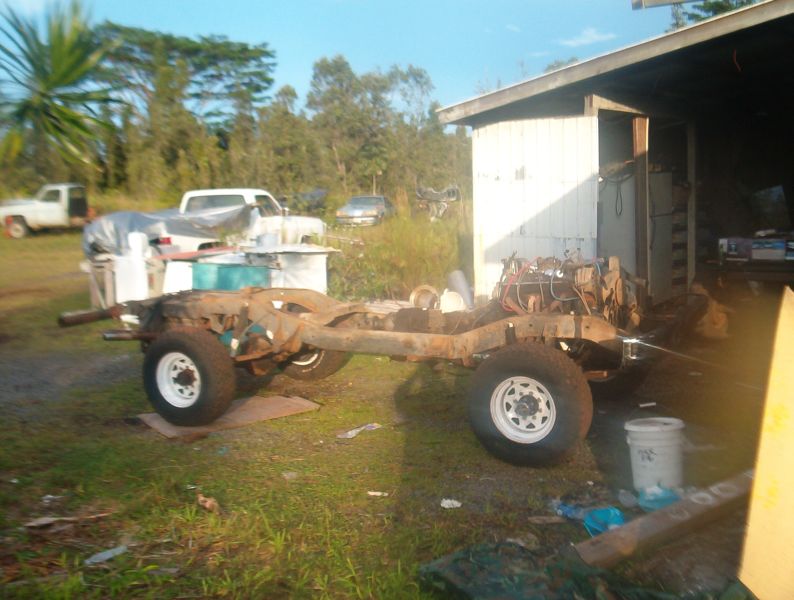
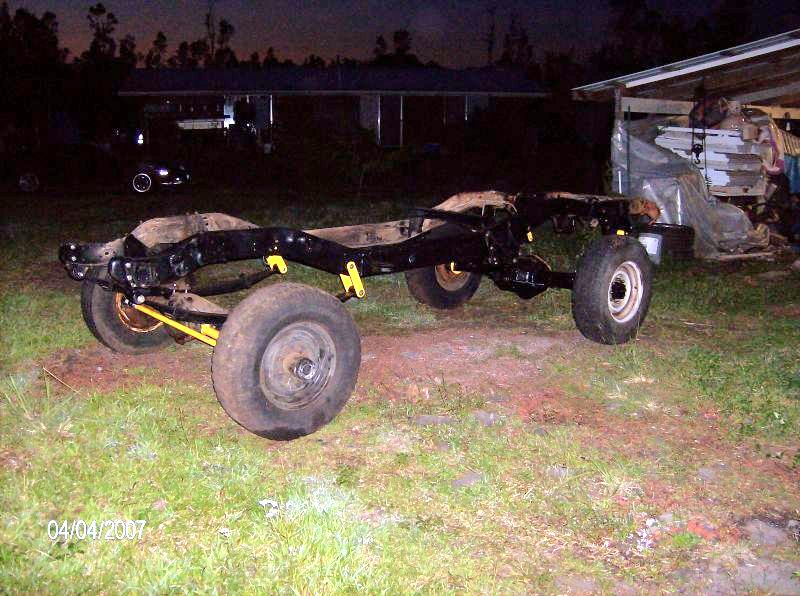
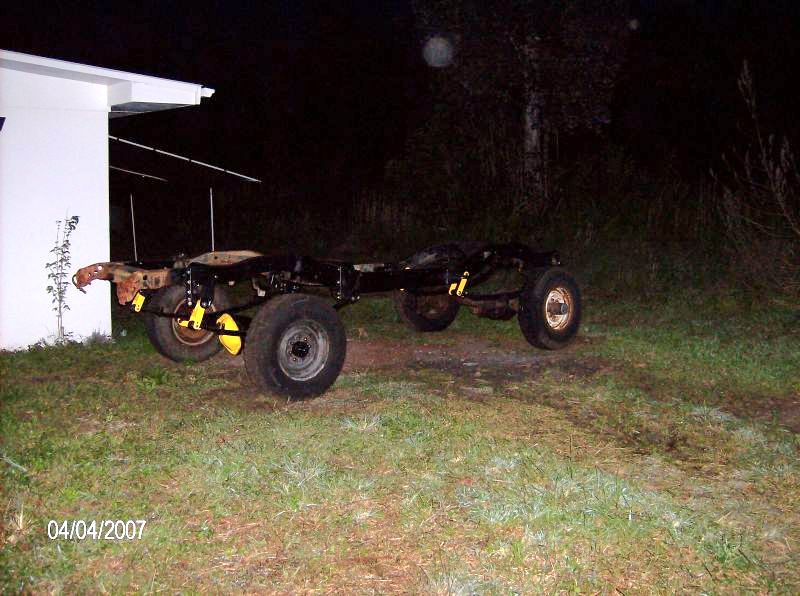
Blazer torn down to a rolling chassis. I achieved this great step with the help of my backhoe. Proper equipment sure makes life easy.
This little guy wandered out of the woods behind my house every so often during the build to eat the grass in my driveway.

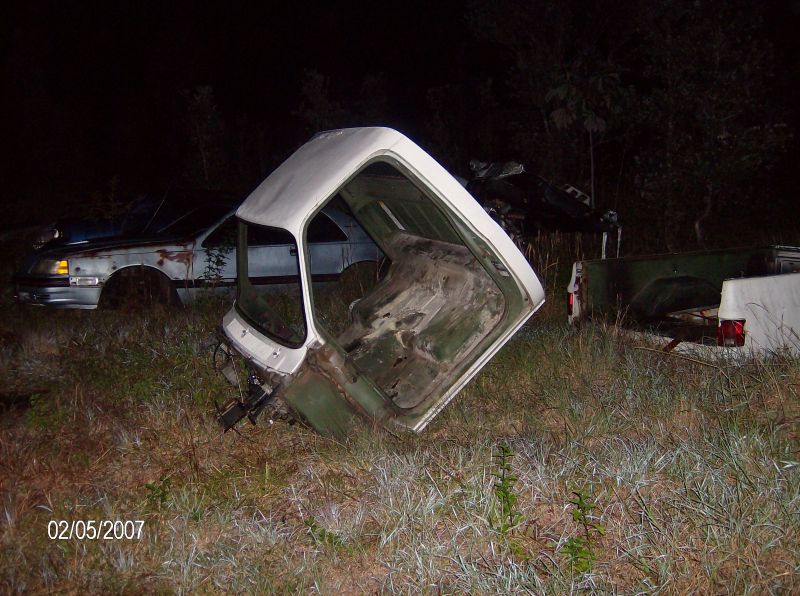
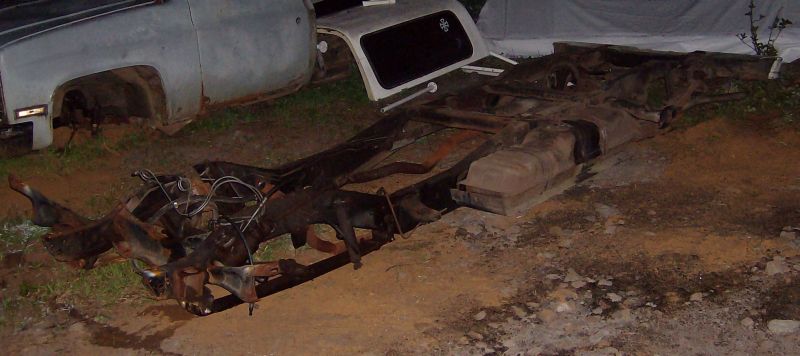
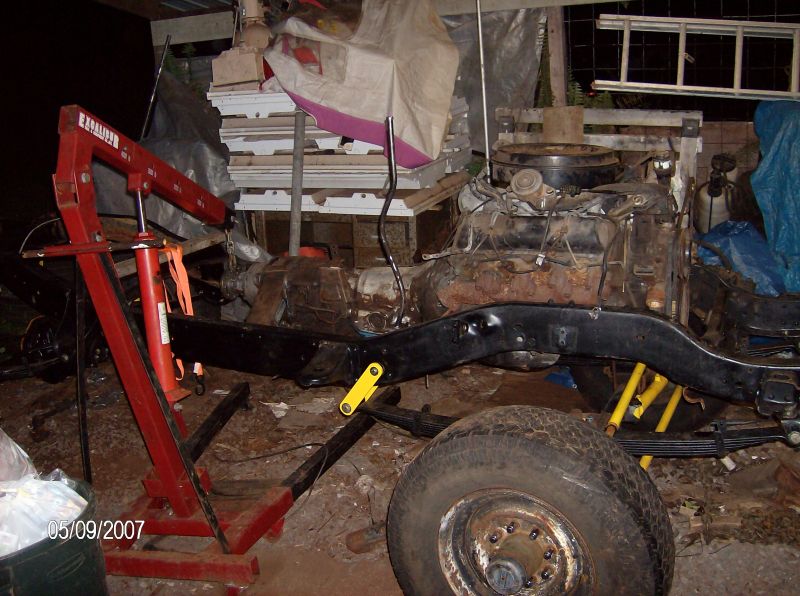
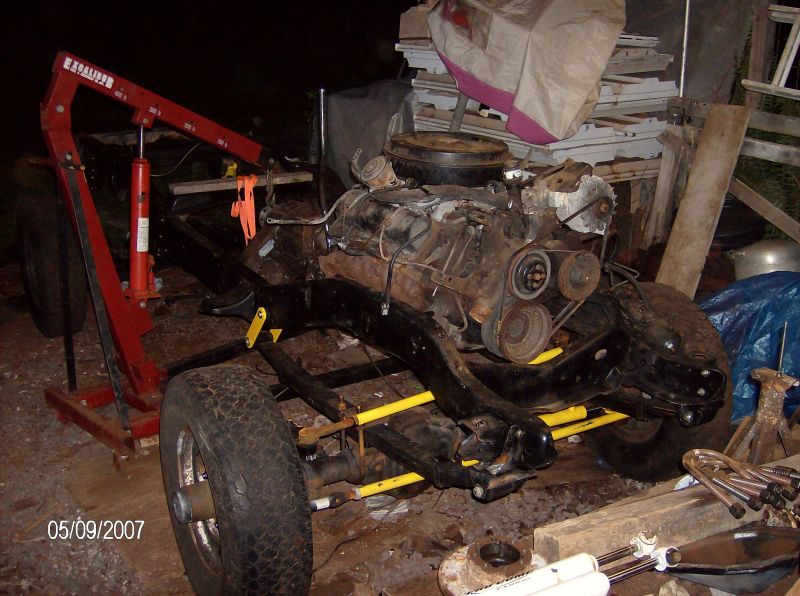
I then pushed the blazer rolling chassis aside, and spent one of my best birthdays every stripping down my m1028 donor truck to end up with various bits.

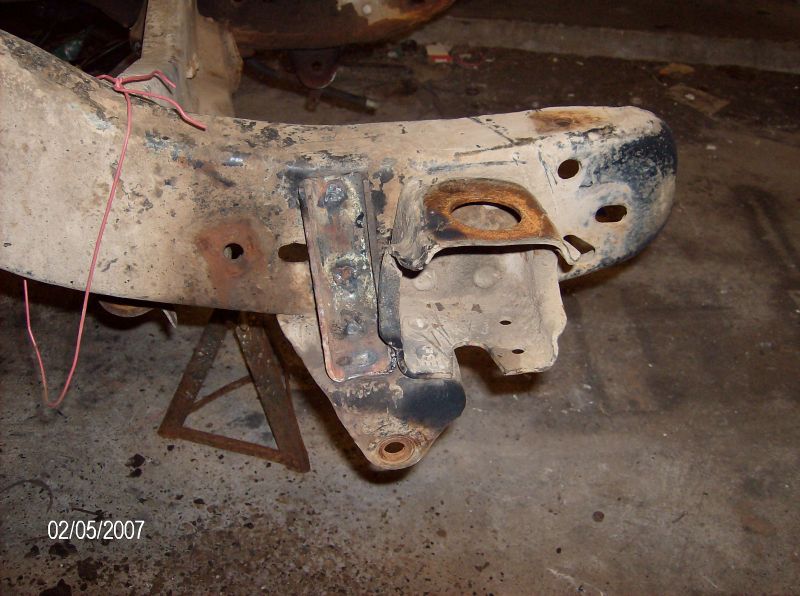
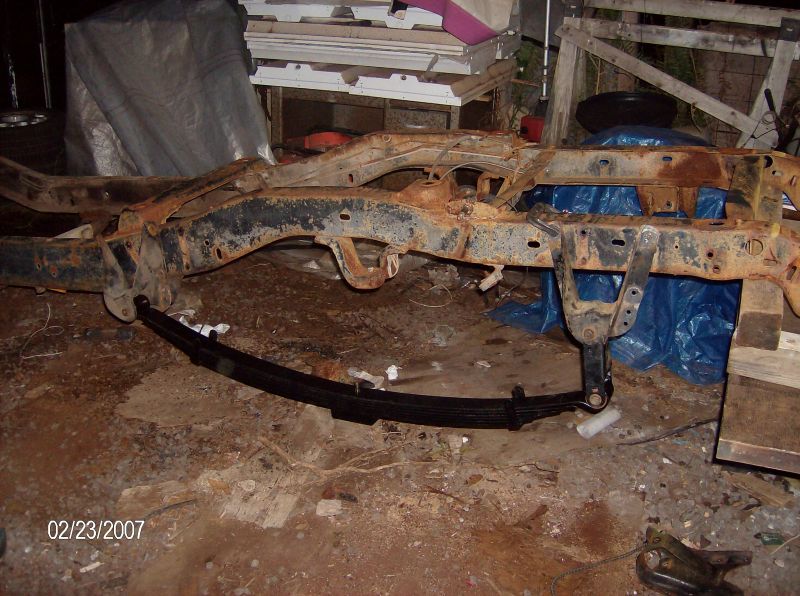
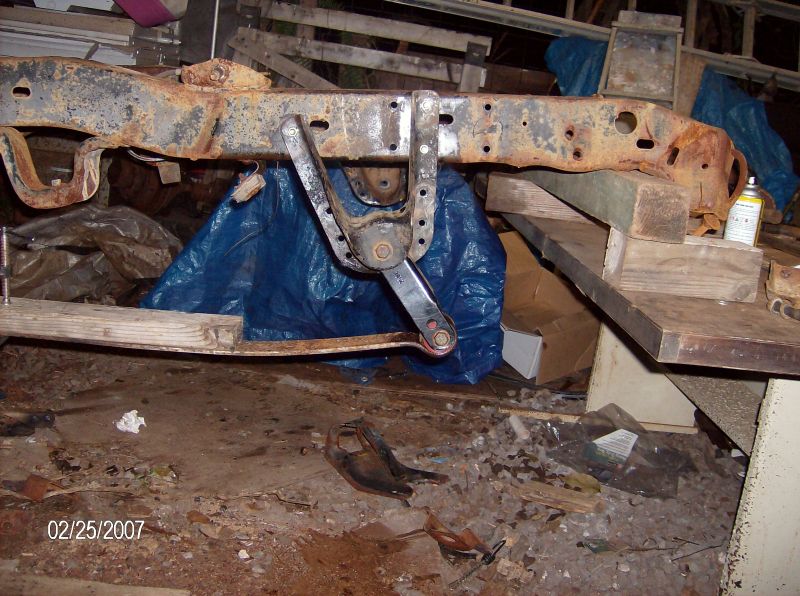
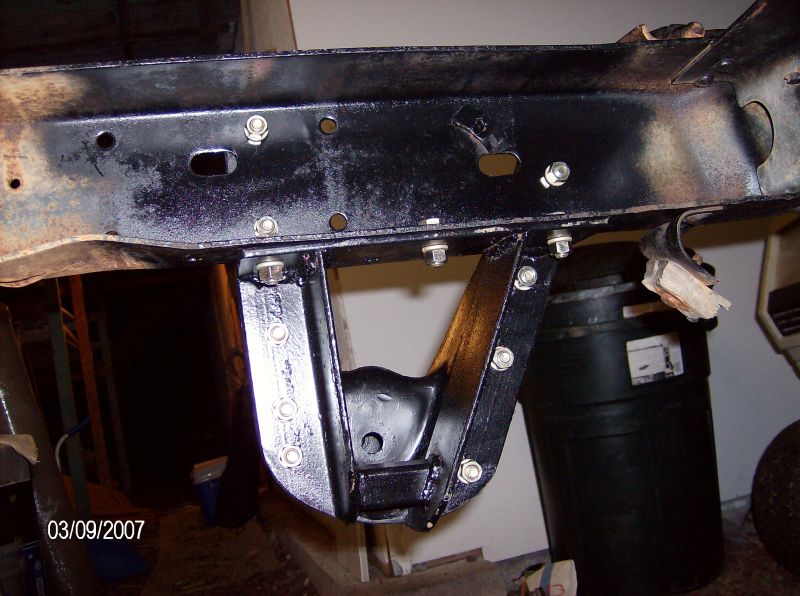
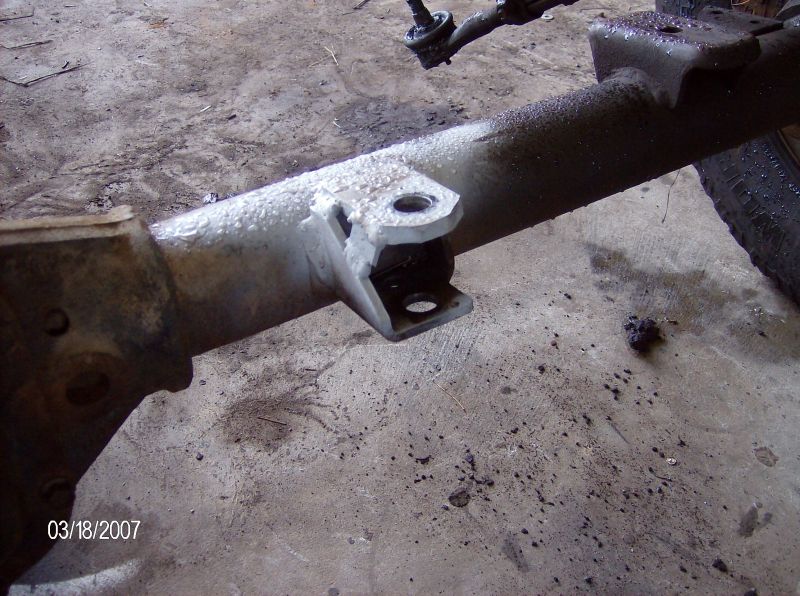
I then rolled the blazer chassis back into the shop, to begin preparing it for the build. I didn't do things quite in the wisest order, as I kept getting these brilliant ideas to change the build as I went along. This is the front spring hanger relocation to allow me to use 56" long springs up front, effectively moving my axle forward about 3".
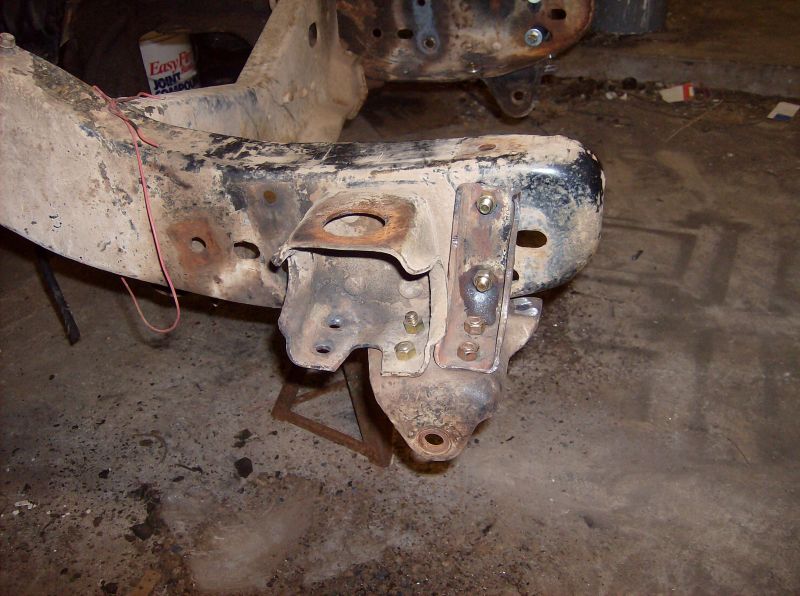
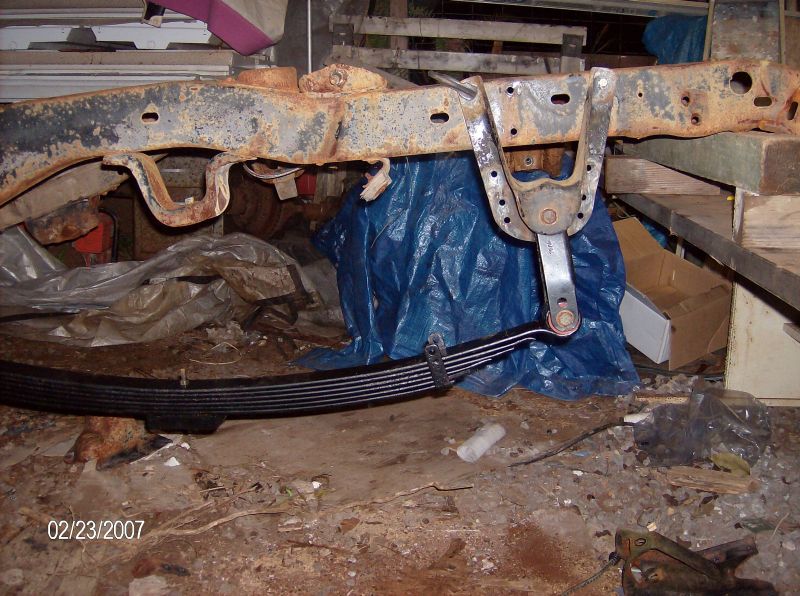
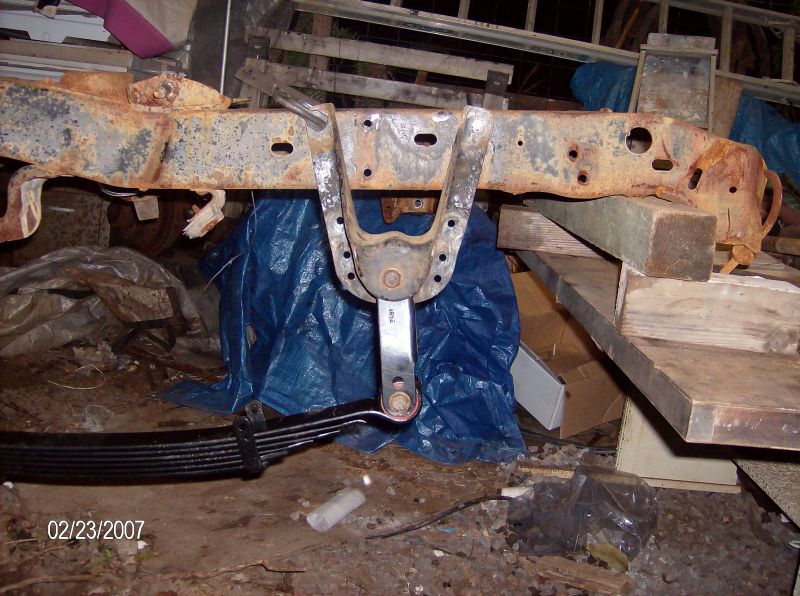
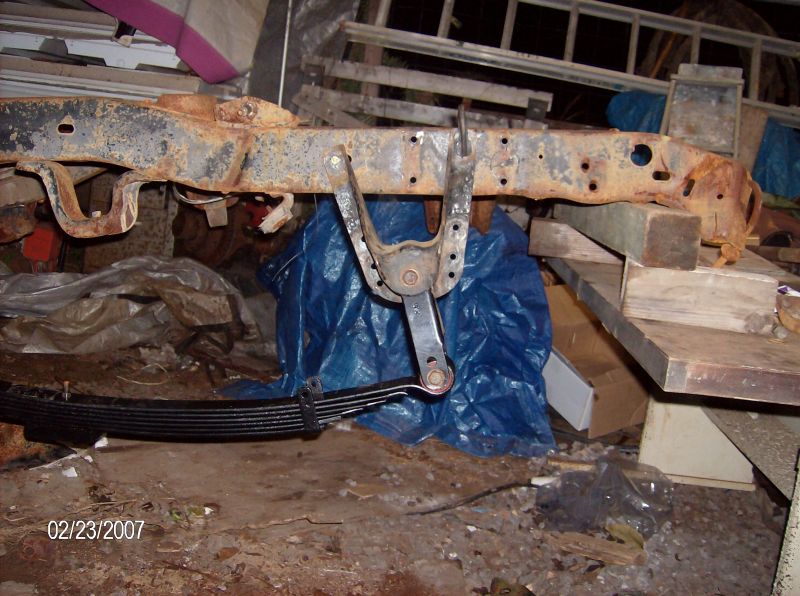
Mocking up the position for the rear spring hangers. I used the 2 sets of front ahngers from CUCV trucks to get 1ton spring spacing. I moved the front hanger forward 4" to allow the 56" springs to run long side forward (opposite of stock)

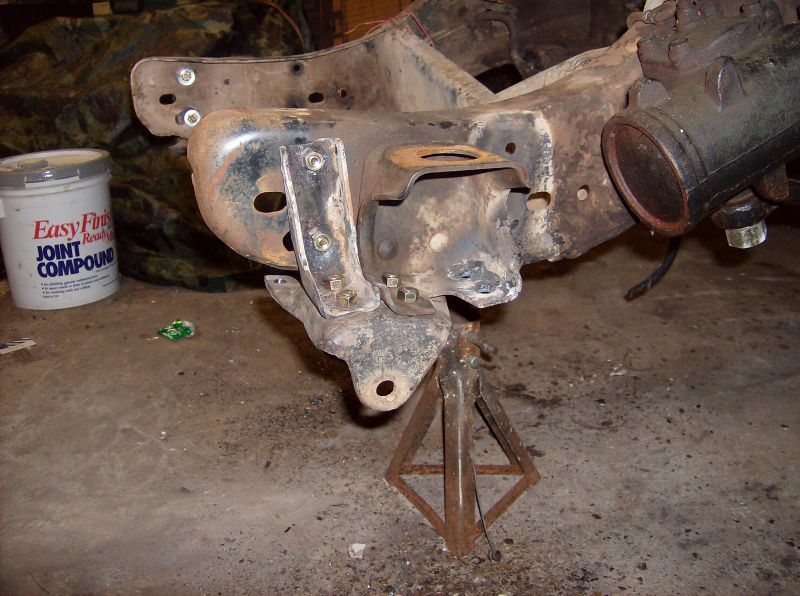
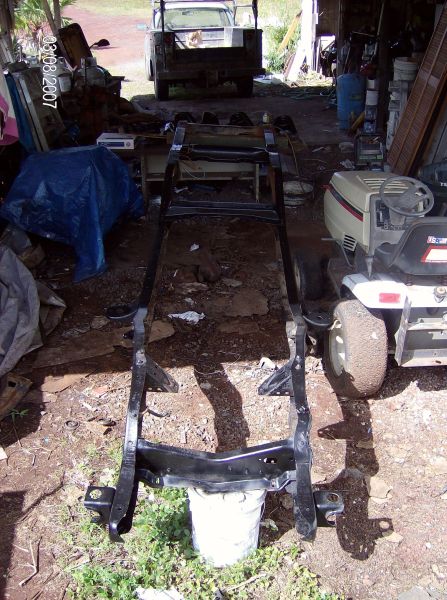
With the rear hanger positions finalized and drilled, I unbolted everything I could fromt the frame and blasted it with semi gloss black. I wasn't really worried about getting a great finish, the truck is all about performance not looks, but when you take a vehicle down to a bare frame, you feel the need to paint parts.
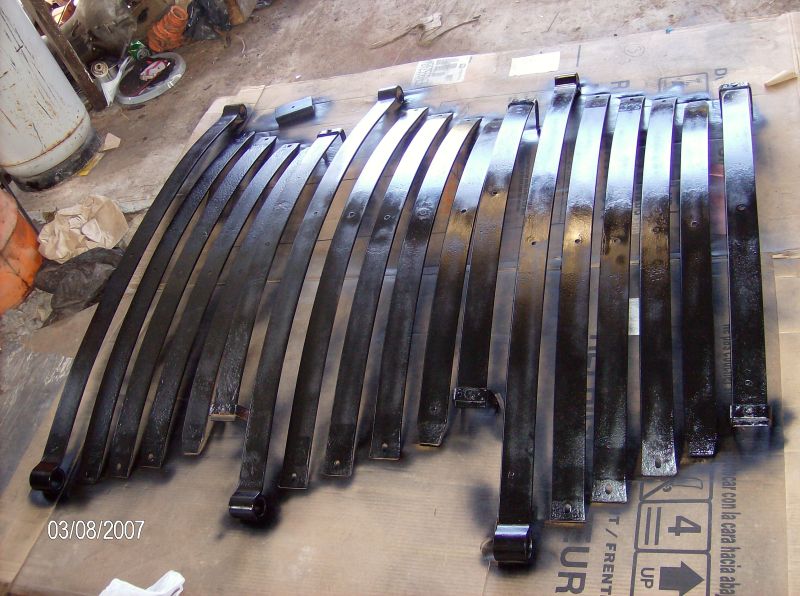
At the same time I disassembled all 4 leaf packs and sprayed each leaf the same semi gloss black
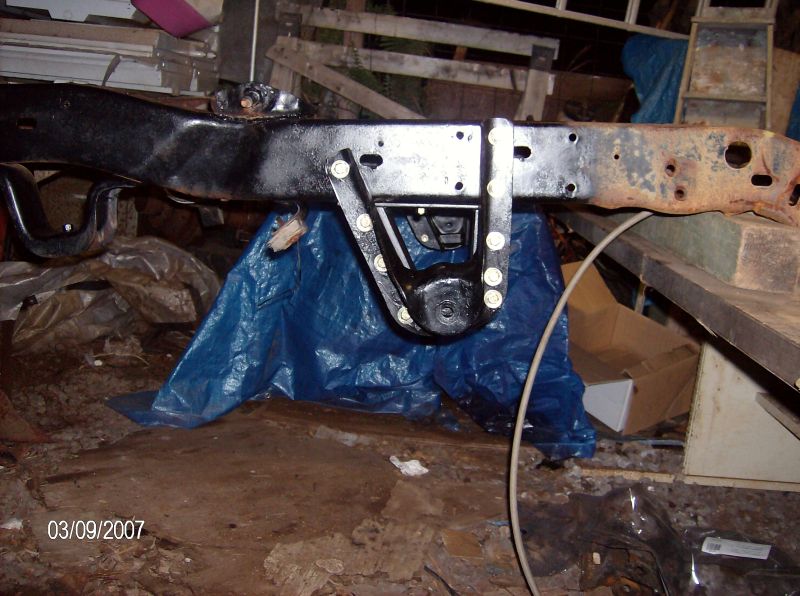
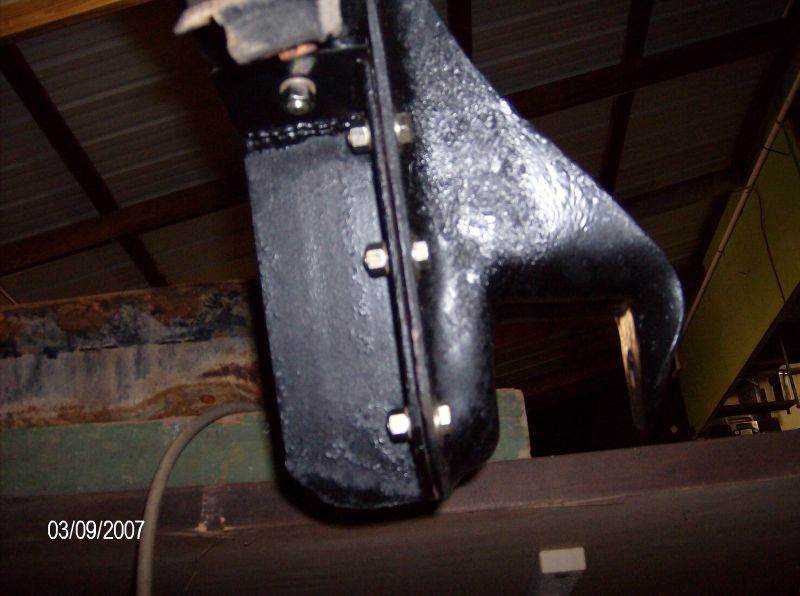
Next day I bolted the rear shackle hangers on, and made up a brace underneath the frame out of 2x3x.25 angle steel. Didn't turn out great, but they work.

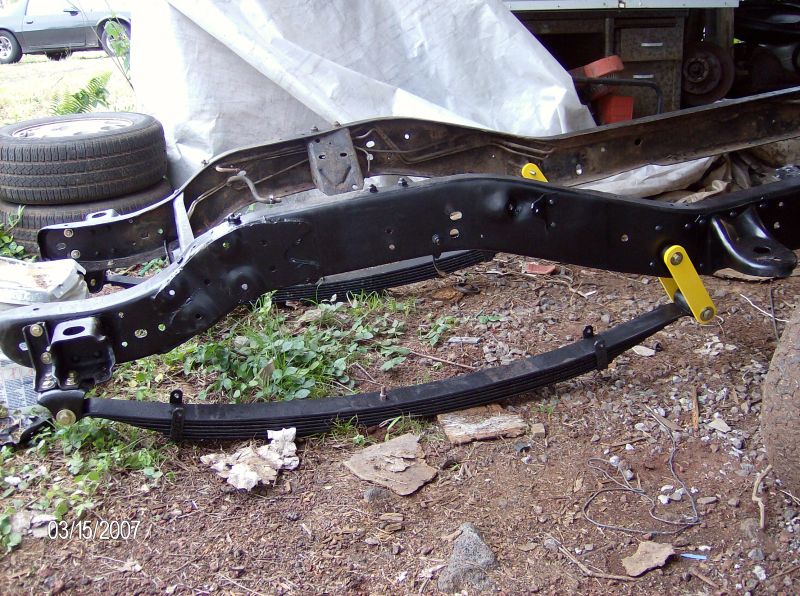
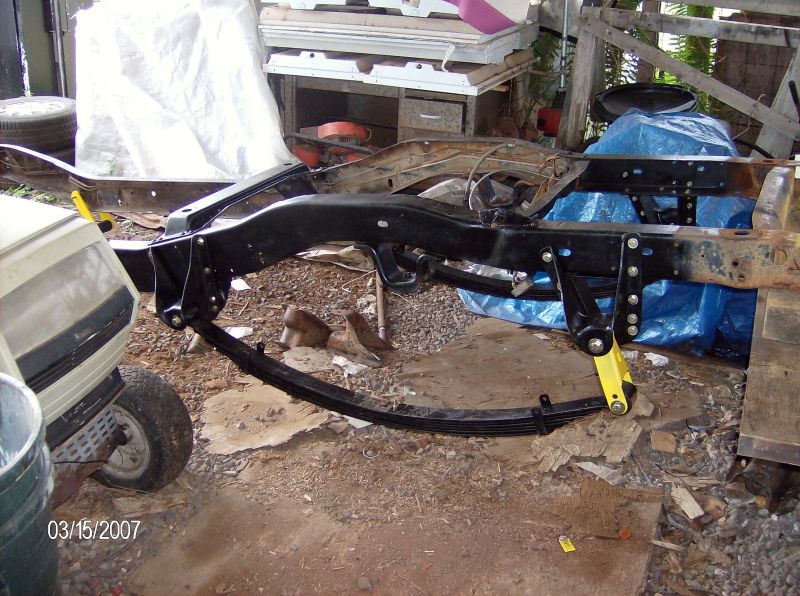
Cut, drilled and shaped my own front shackle sides. 7" on center. Seems a little long, but with a really soft, fairly long spring, I need the length to keep the spring shackle from inverting in one direction and the spring eye from hitting the frame in the other.

Hung the front and rear leafsprings off the chassis. Shackle angles at this point looked like they would work ok with the final weight of the truck, turns out I just about got them perfect!
Welded tabs onto the axle housing and my tie-rod for the hydro assist cylinder. Again, didn't turn out the prettiest, but I have no fear of anything failing, and boy does hydro assist help with the big tires when they get bound up.

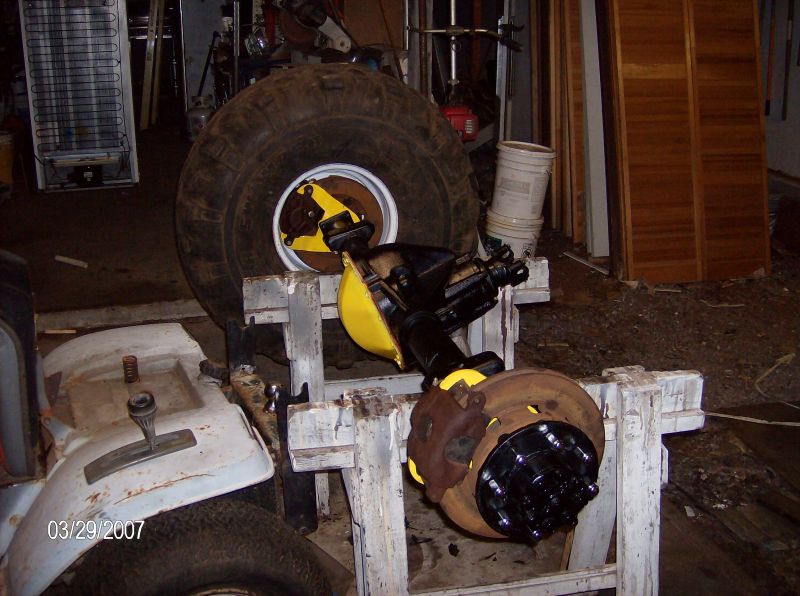
Checked the gears on the 14bolt, everything looked alright, so I painted the housing semi gloss black, the diff cover yellow and slapped that together. I also paint my RuffStuff Specialties disk brake brackets yellow. I was still planning on painting the truck yellow and continuing the short bus theme at this point. Bolted it all together and test fitted with my spare 42" tire. Next time, I'm leaving a rim empty for test fitting.
Rolled the rear axle under the chassis. The intention was to get the chassis rolling as soon as possible so I could move it out of the shop if need be.
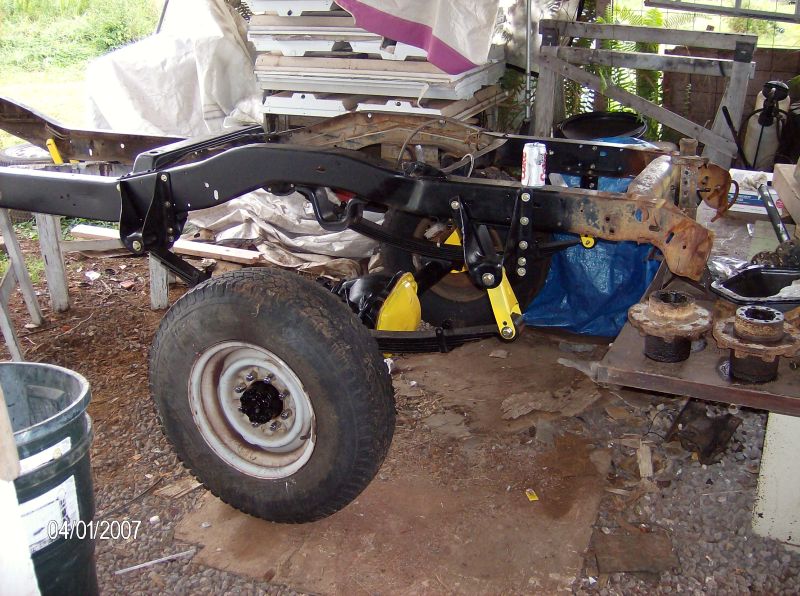
Got the front axle painted and rolled under the chassis as well. At this point I got so excited I pushed the frame out of the shop for pictures, just to prove to myself it was a rolling chassis again.
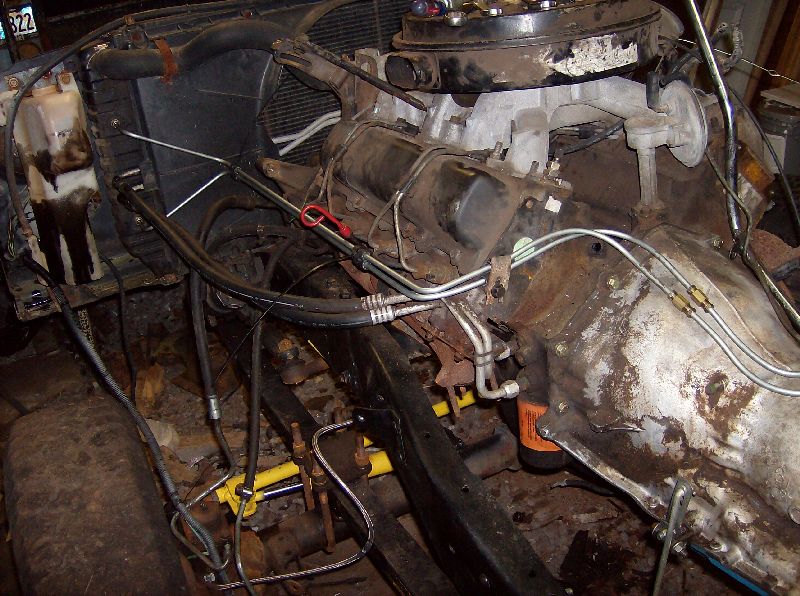
With the help of my neighbor I managed to get the 6.2/th350/np203 rolled accross the shop and swung into place as an assembly. Engine hoist wasn't real happy with me, even on the 3k lbs settings.
Slapped the rad support on with the rad, and started plumbing the chassis up. I redid the tranny cooler lines when I realized the fitting over the bellhousing got pinched by the cab when I set it on.
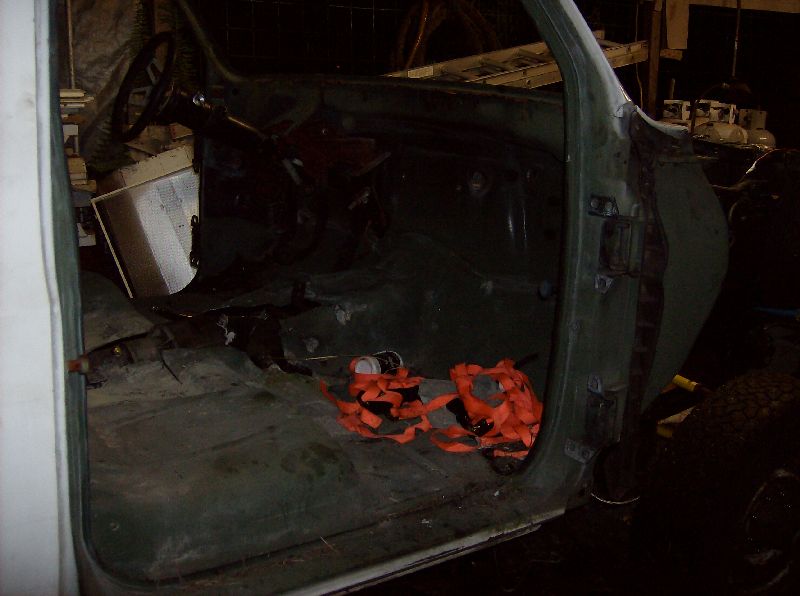
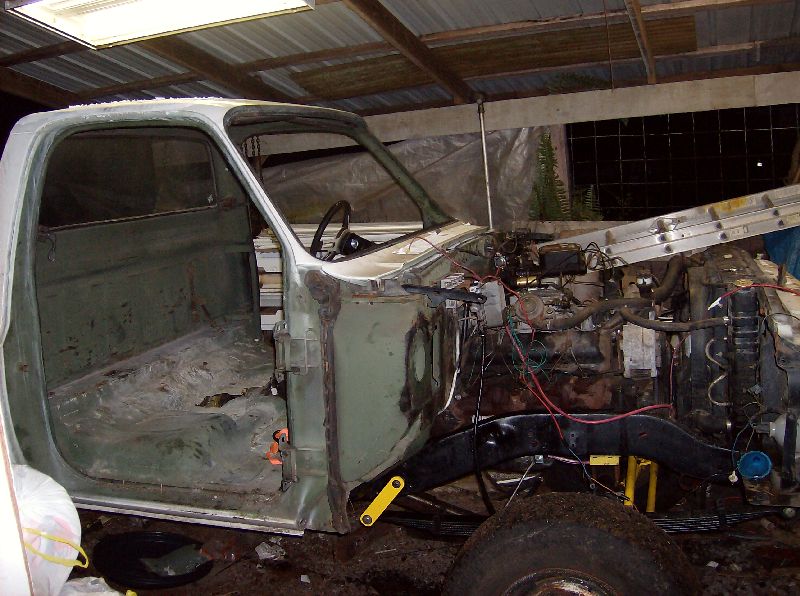
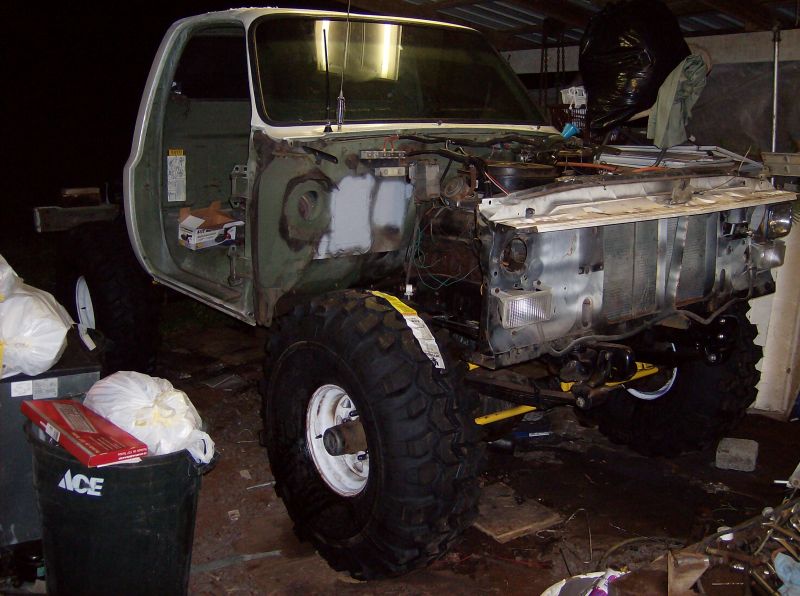
In one day I took a huge step after that. I got the cab on (cut half the floor out to make it fit), installed the steering column, plumbed & bled the brakes (sort of), and "wired" the engine enough to make it start and run. Decided that was enough to drive it, so I did! These pictures are just to show how little vehicle you really need to drive something around the yard.
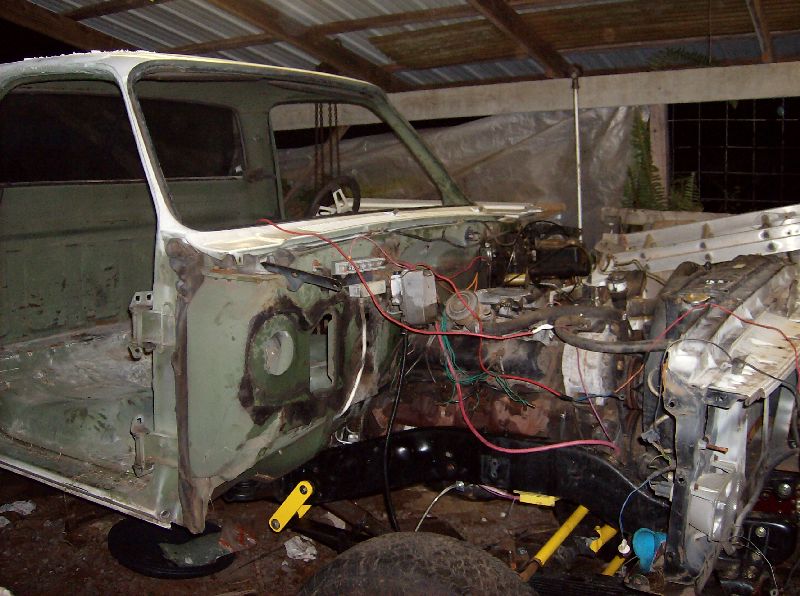
Some "minor" details of work getting done. At this point I had moved up my "absolutely must be done so it can go on the boat and get shipped date" by 2 months. Things had to happen quickly.
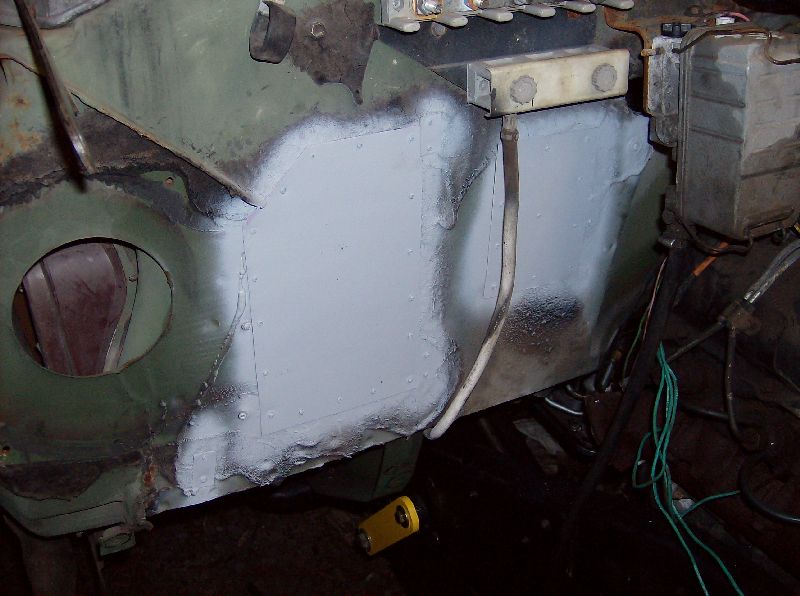
Patching up the holes left in the firewall after removing HVAC
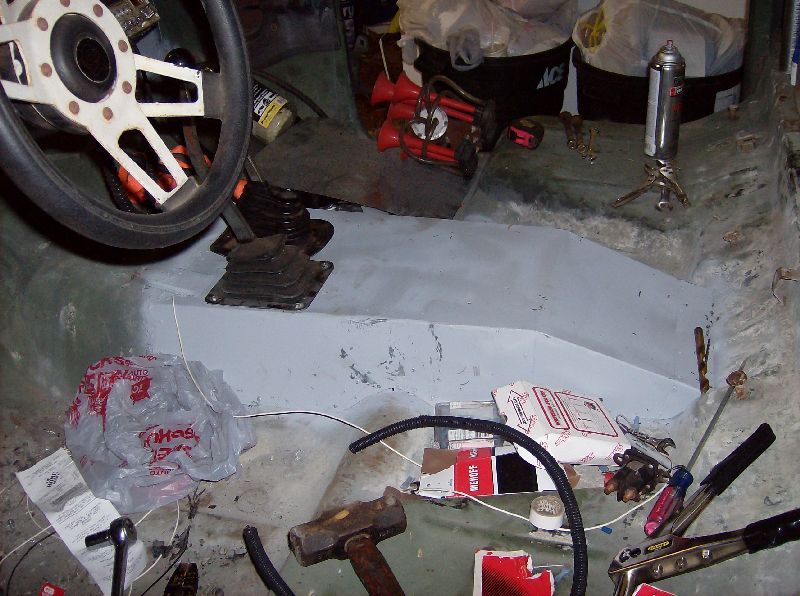
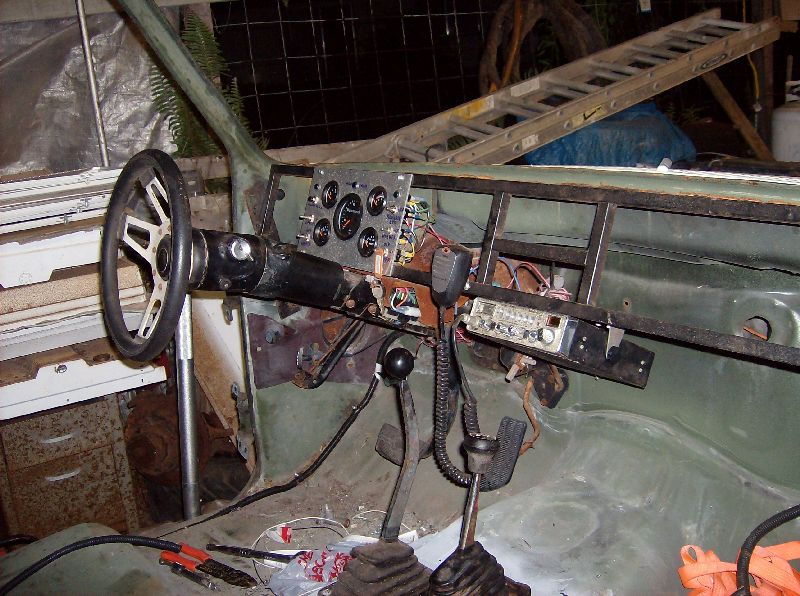
Fabricated a new trans tunnel to cover the gaping holes I cut to clear the np203 transfer case. Also shows my shift setup

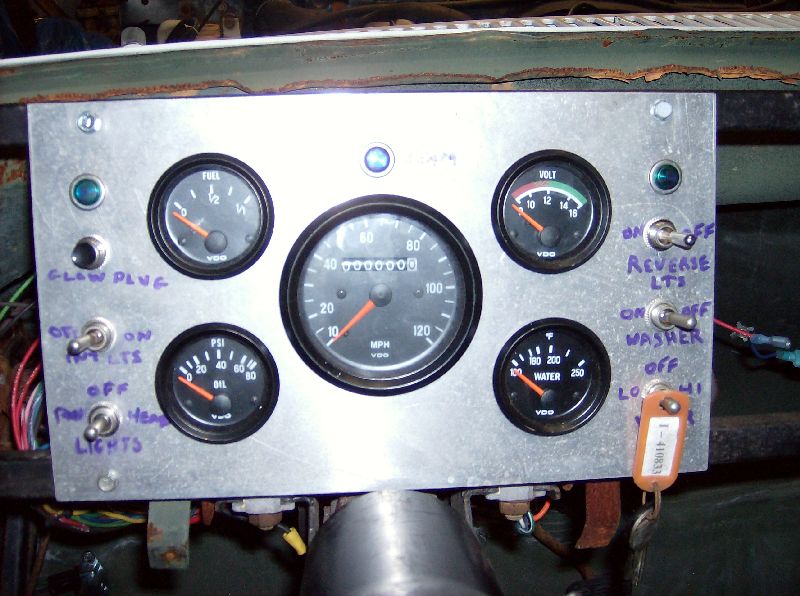
Dashboard frame work in place, gauge panel installed. The dash frame and the gauges/panel were taken from the previous build. Truck got completely wired from scratch using an ebay special painless knockoff kit.
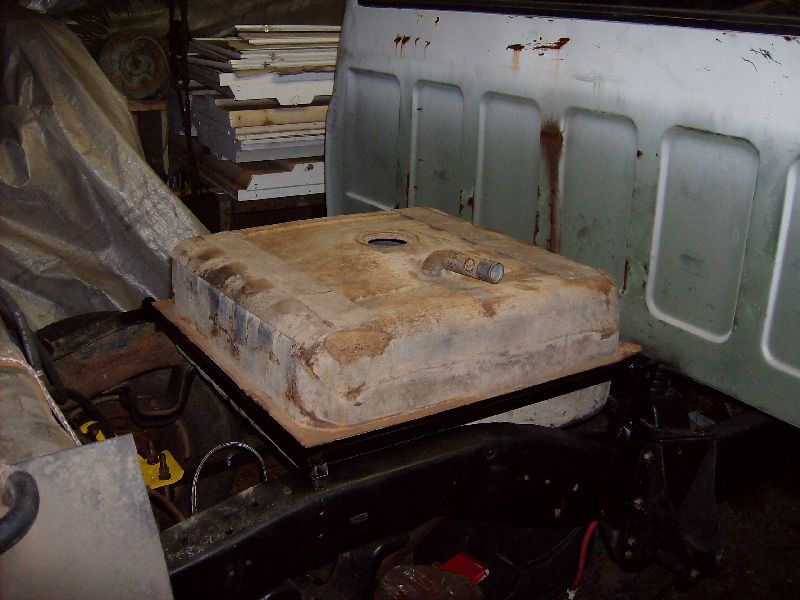
After much consideration, I decided to run the stock blazer tank, relocated. It is immidiately behind the cab, and the bottom is even with the cab mount crossmember. plenty of clearance for the driveshaft. I made up a frame of 1x1 tube to support the flange all around.


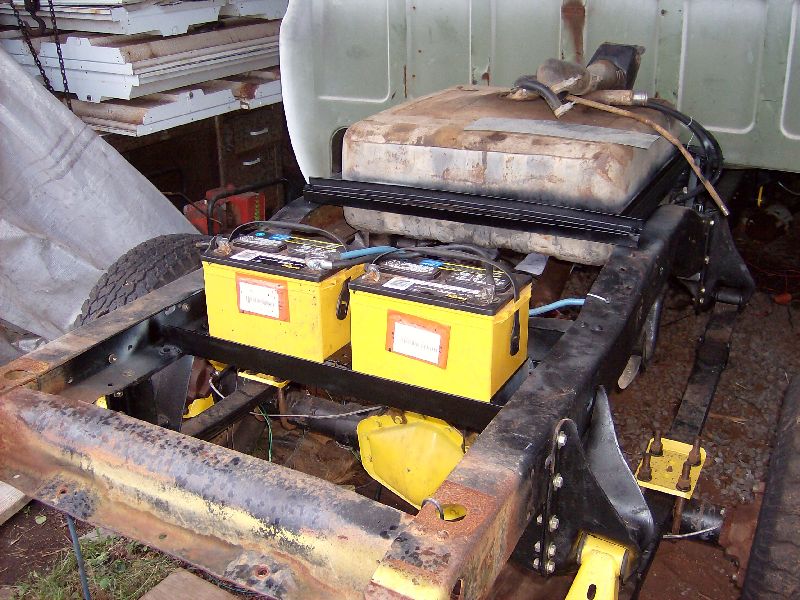
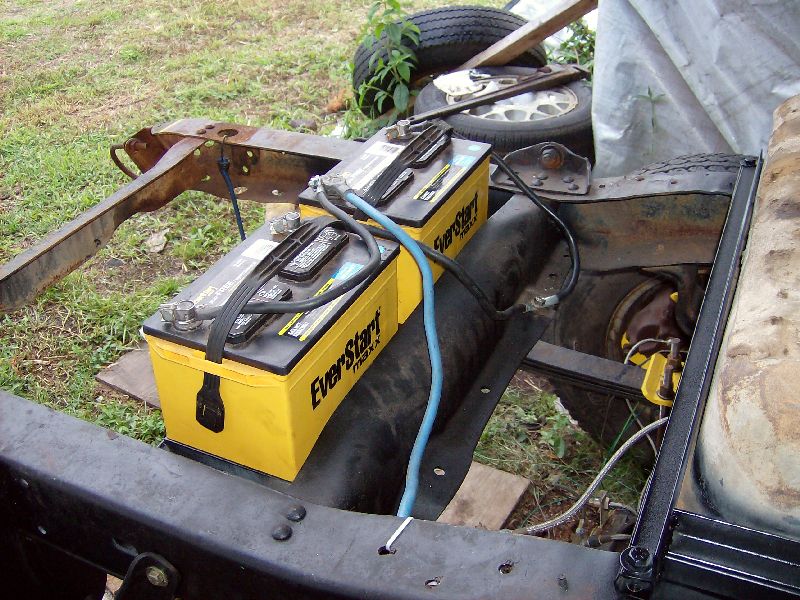
I made up a dual battery tray by welding 2x3 angle steel between the frame rails, and then welding small lengths of steel between them as side stops. I have yet to build proper hold downs, tie-down straps seem to work just fine.

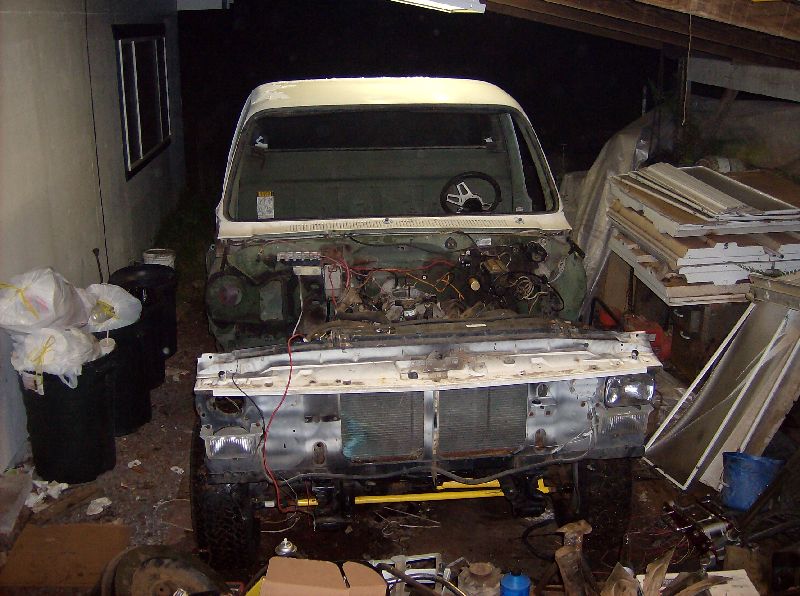
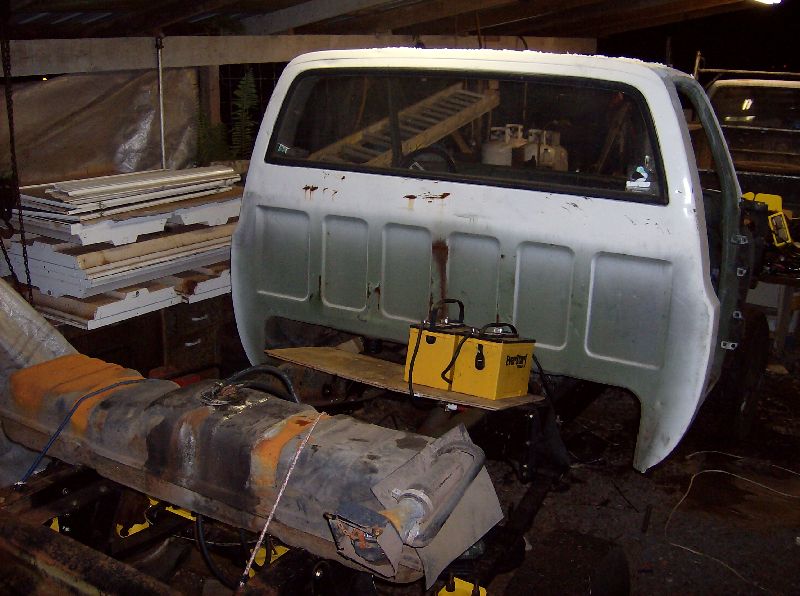
And now we're getting close to a running driving truck. This is where it really started to seem like I owned a truck again, not just a pile of parts
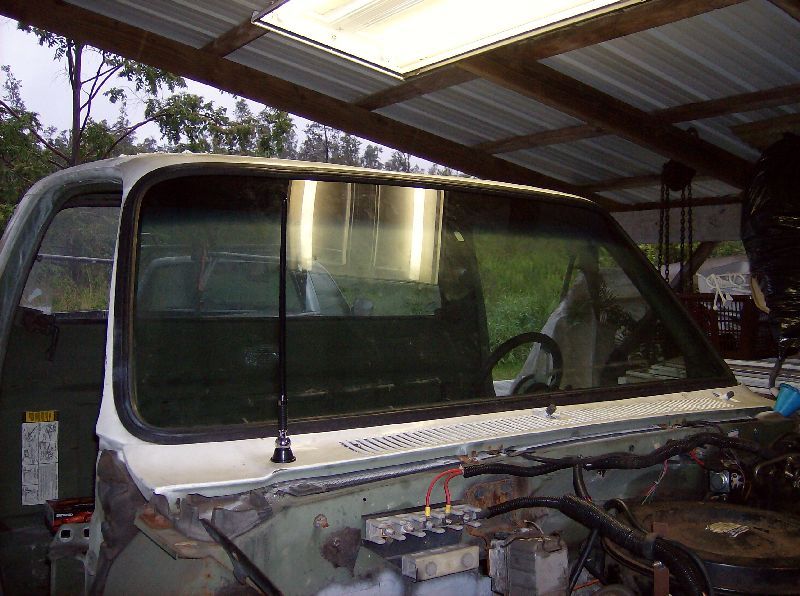
A windshield!
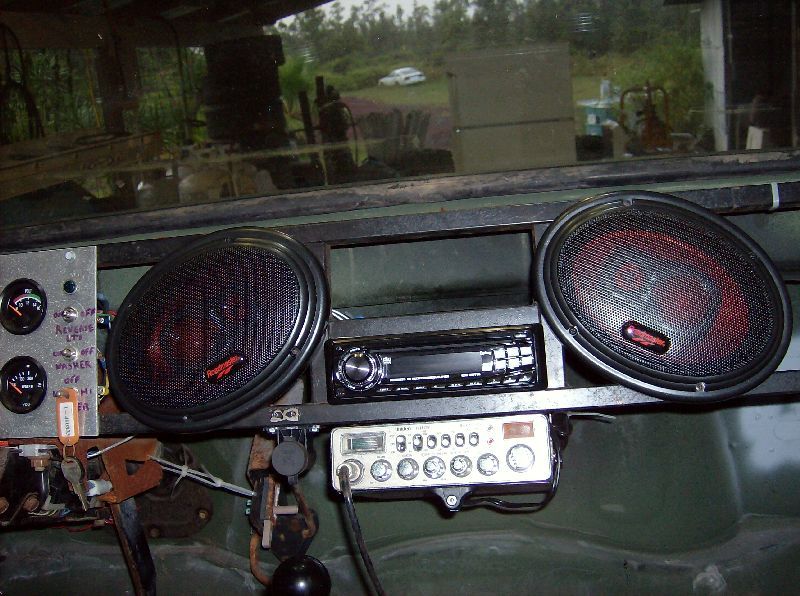
A radio
Rear bumper & lights (temporary). I was running out of time and had the bumper handy. Drilled 8 holes and it was ready to go. It does have big mounts for shackles though, I'll most likely keep the center portion of the bumper.

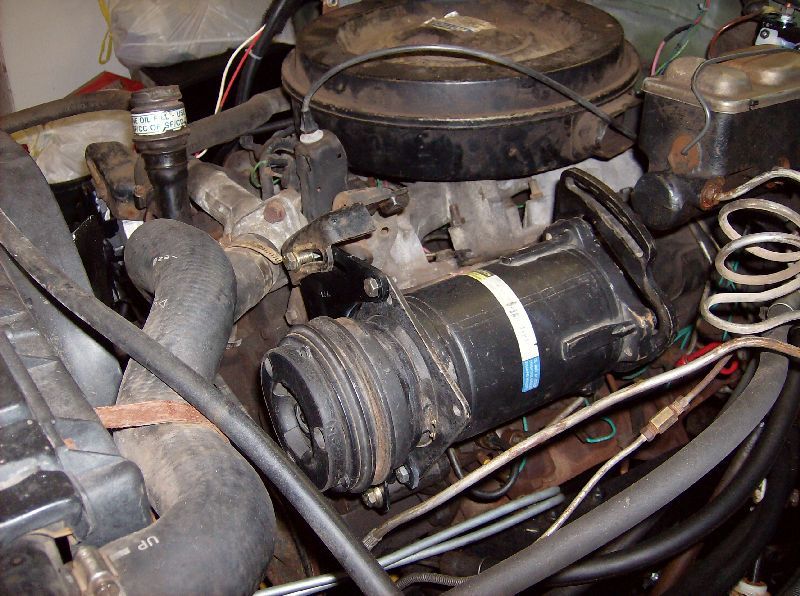
A/C compressor for onboard air (didn't quite get this wrapped up before I move. I need to add a belt tensioner to keep the belt from hitting the rad hose, and the clutch drags.
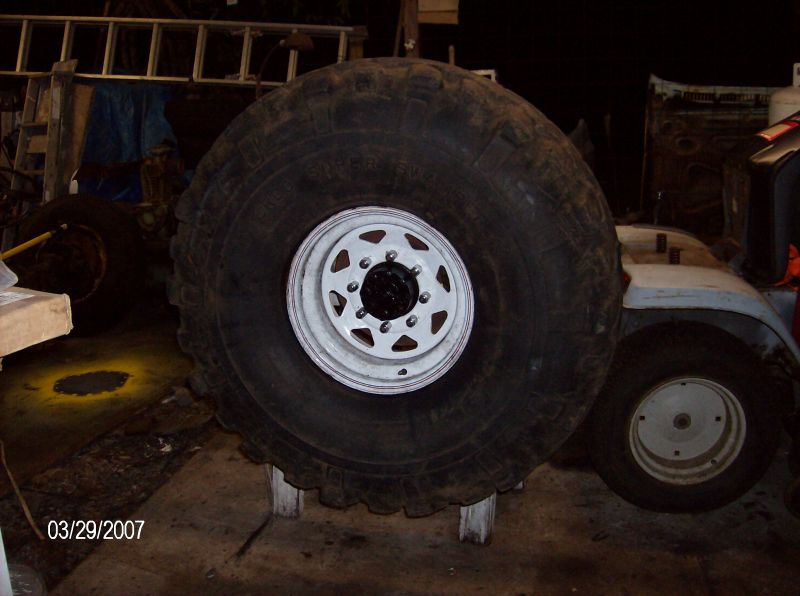
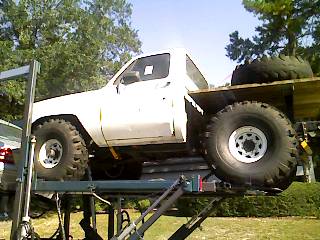
Bought my tires. 15/42/15 TSL's. Should be plenty of tire for a long time to come

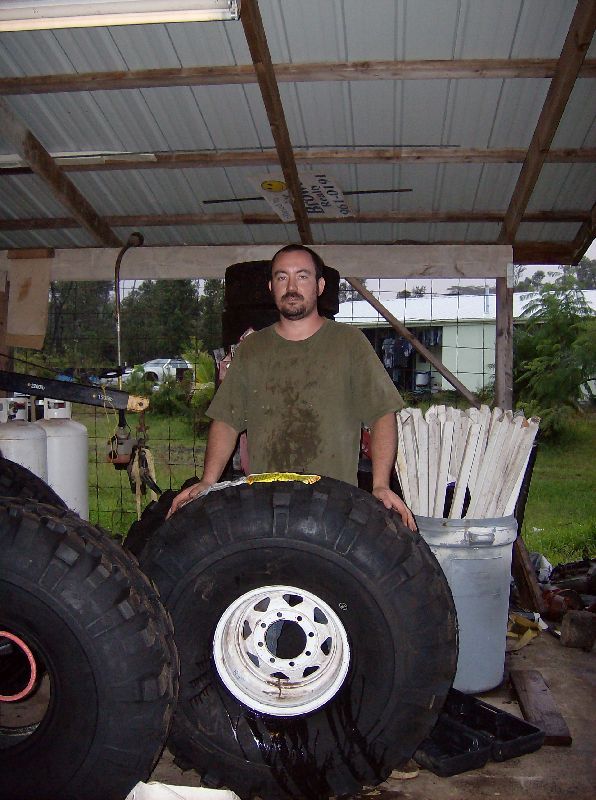
Bolted the tires on the truck before the front end sheetmetal. all I said for 3 days is "what have I built?"
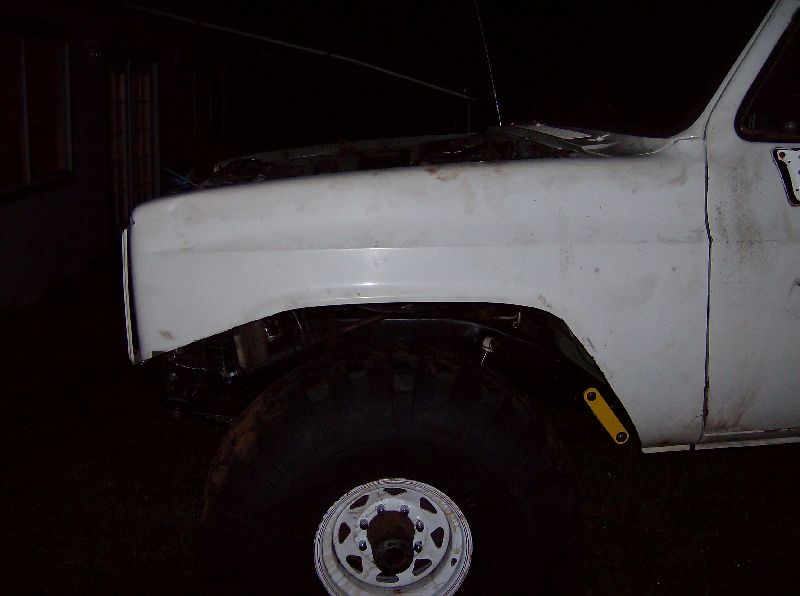
Front fenders bolted on. No inner fenders. I had to cut the front corner of the wheel well just to get the fenders on the truck. The real trim job is coming up shortly. These pictures almost look photochopped to me, and I took them.
Took me 2-3 hours, and I managed to cut off the better part of half of the front fenders.
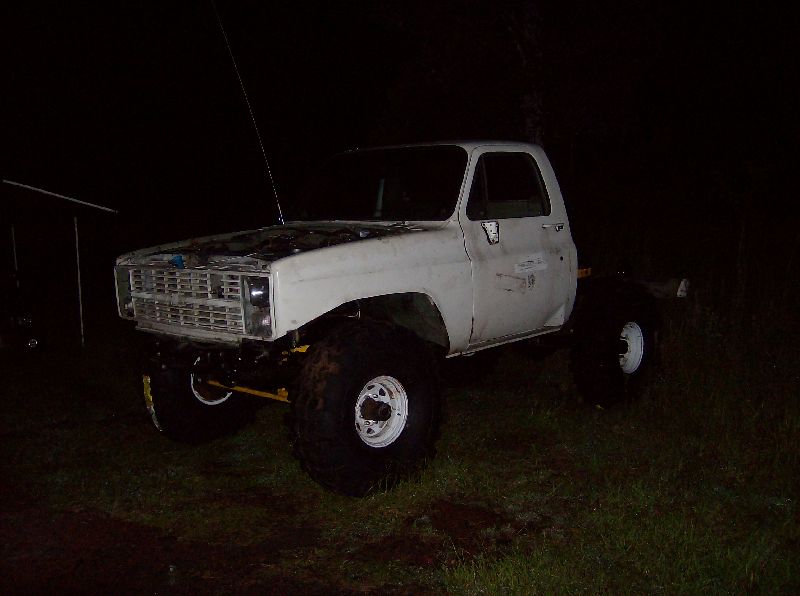

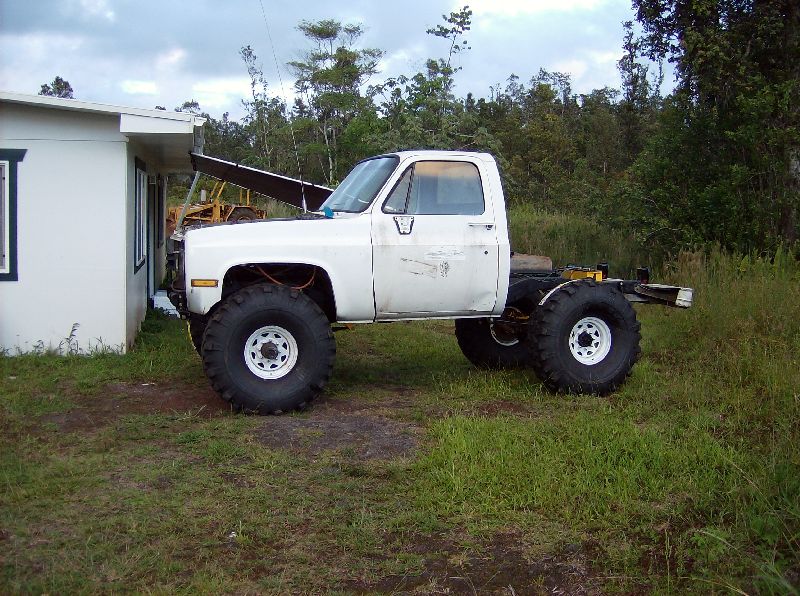
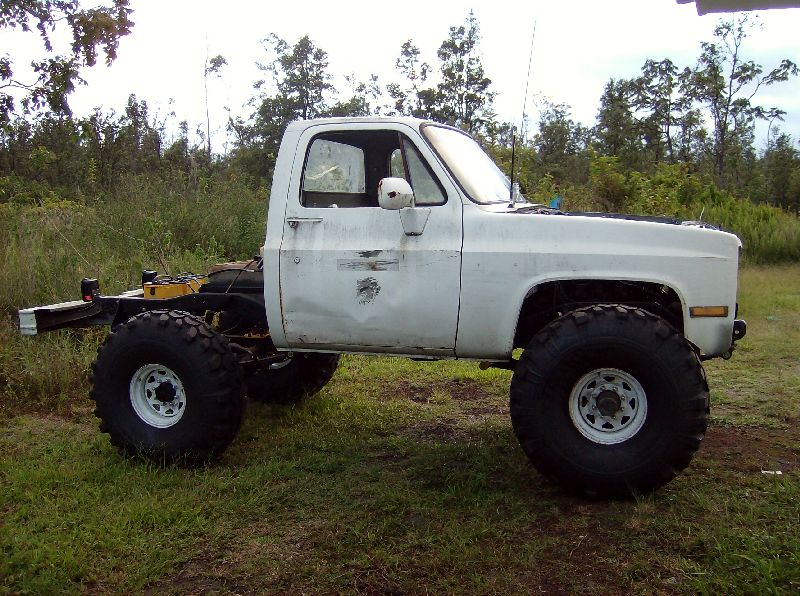
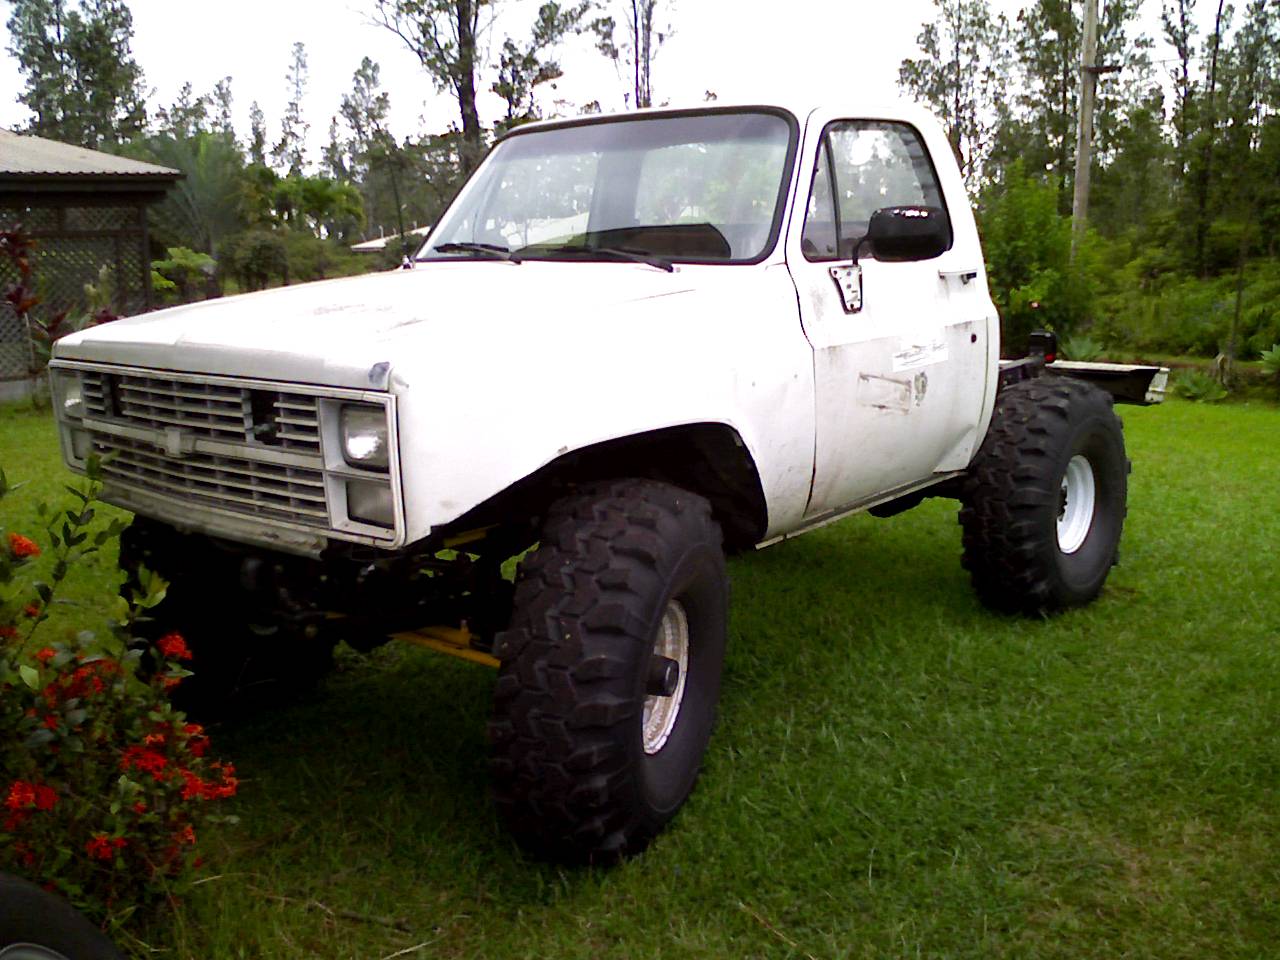
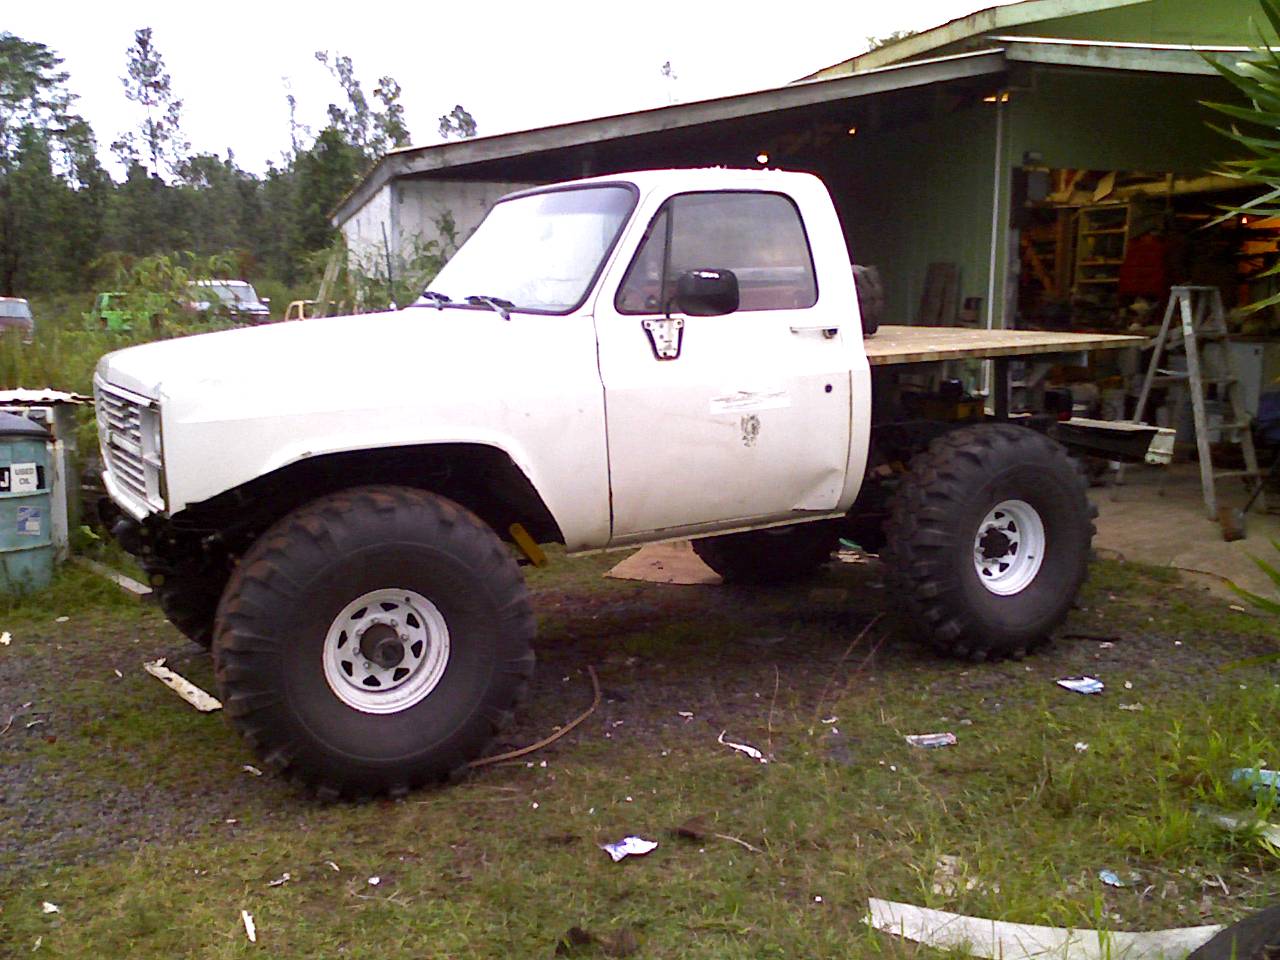
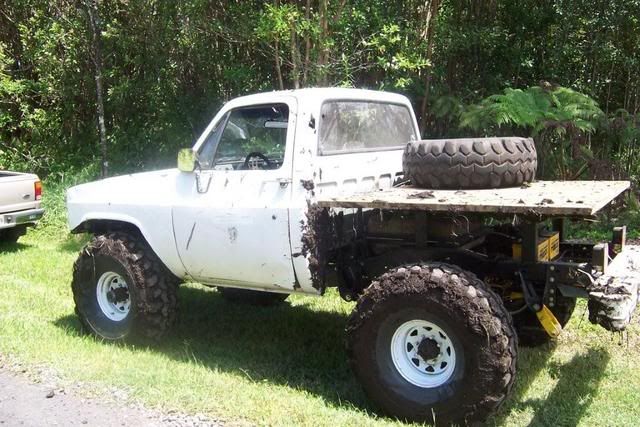
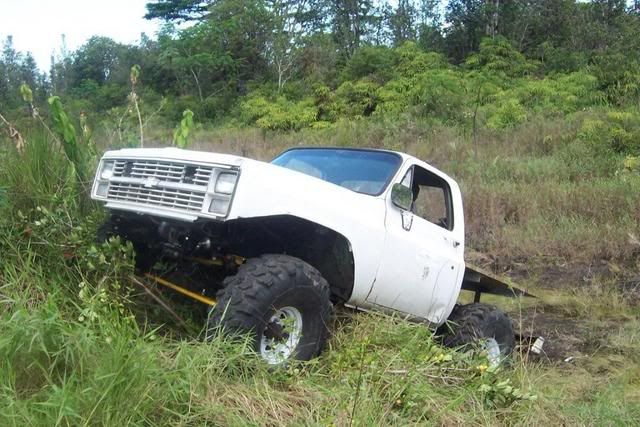
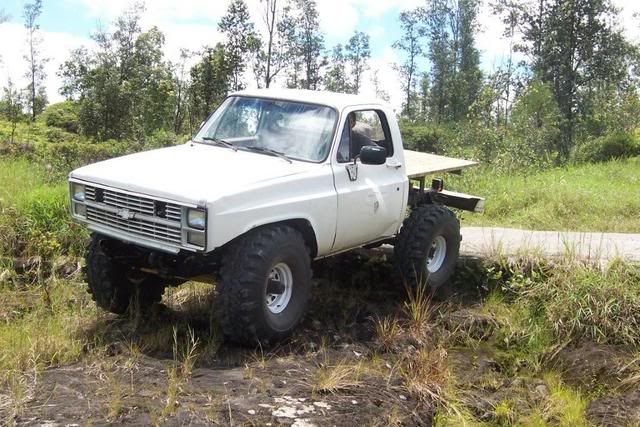
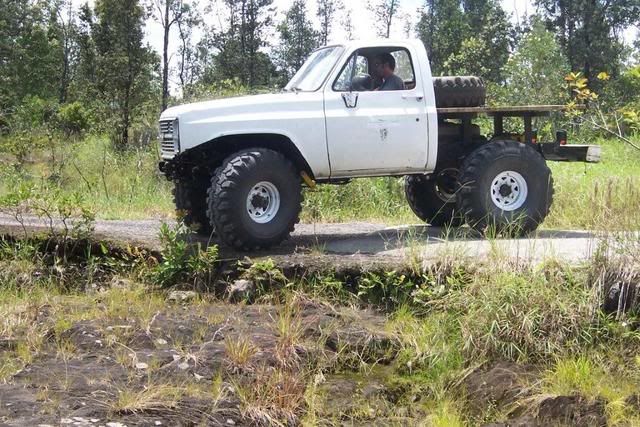
Around this point I buttoned the truck up. Doors, hood, the rest of the front end, various odds and ends. I drove it around the yard, then up and down the road, and finally 5 miles down dirt back roads to a friends house. The significance of these pictures is simply that they're not taken at the shop.

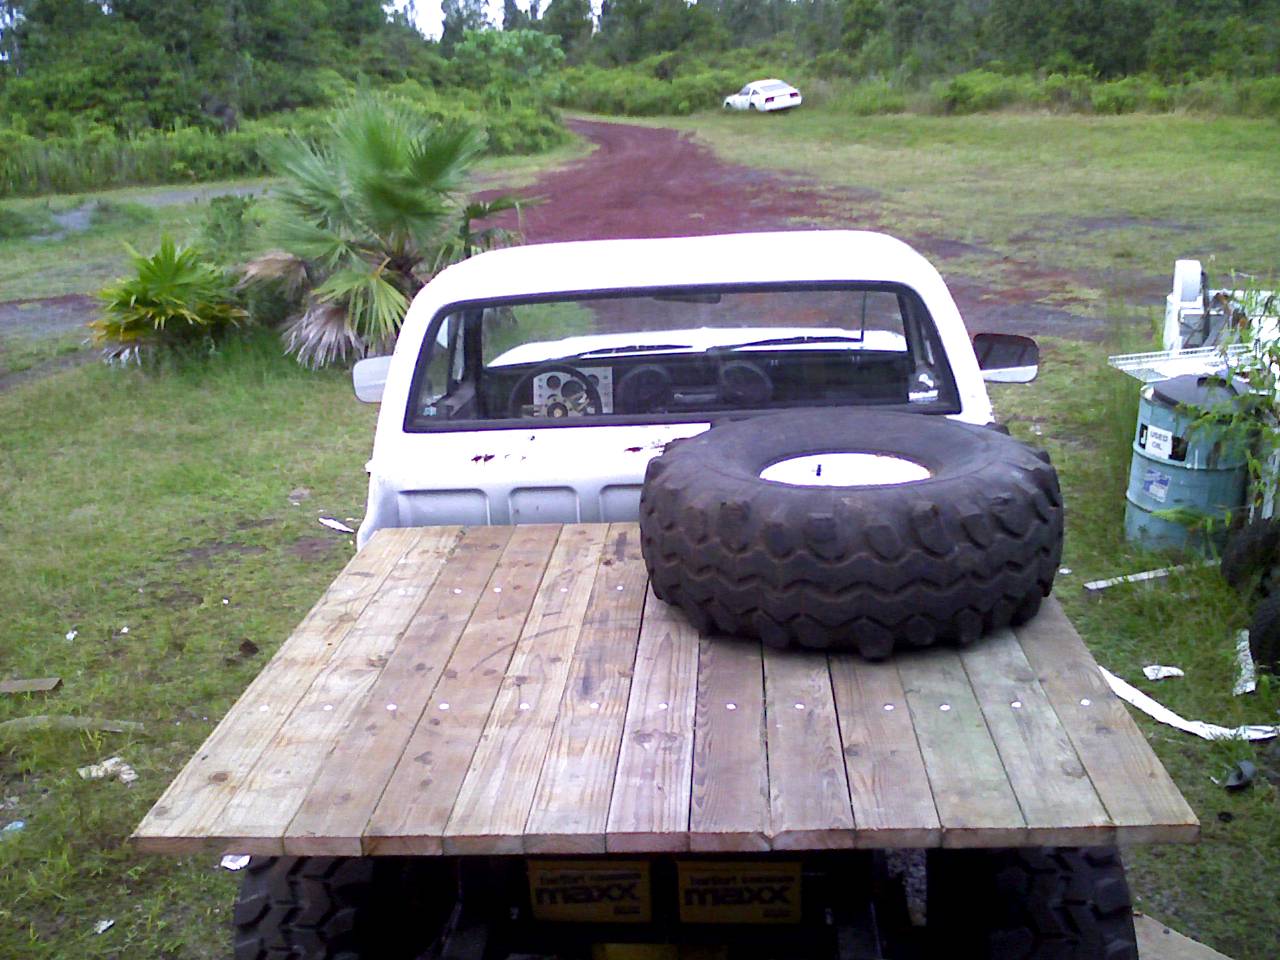
Decided to finish up one last project before the truck got shipped, the flat bed. Vertical supports are 2x3x.375 angle steel (had some lying around). Crossmembers are built from the same. Deck is 2x6. It's plenty sturdy. I drilled through the deck and the front crossmembers and using two L bolts secured the spare tire.

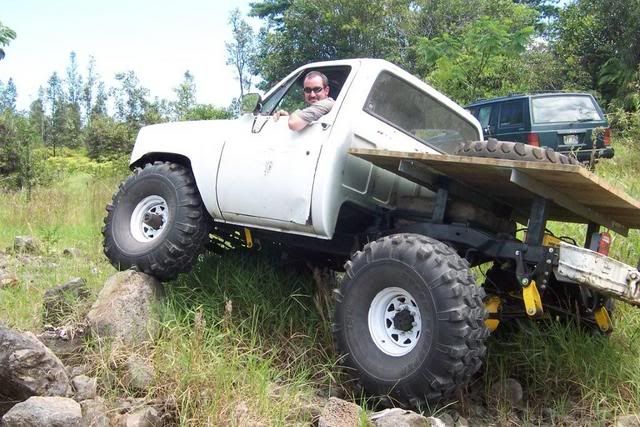
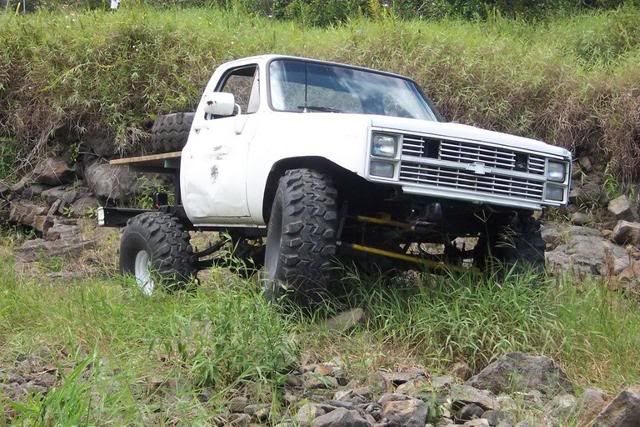
Then ONE DAY before the truck was supposed to go on a boat, a friend talked me into an afternoon of light wheeling. I was hoping the whole time nothing broke, then I ended up almost flopping the truck sideways off a climb when it bounced and dropped a rear tire in a hole. No pictures of that, because my friend was in the truck with me. I also dug him a new 200' long mudbog through his yard. He said he wanted something challenging for his 31" tire'd XJ, so I stuck it in 2hi and kept the speedo reading about 40mph while I slowly rolled back and forth across the lowest point in his lawn. It's a great mud bog now! And to all the tread lightly people, this is private land in a floodwater/runoff basin. No harm was done that wasn't washed away in the next day's rain.
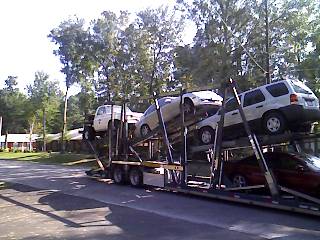
And lastly, my happiest day in the last 3 months... my truck finally showed up!
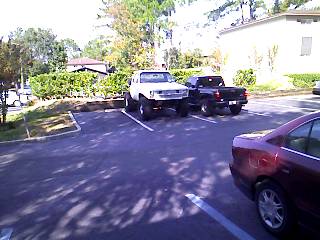
And Now, I have my daily driver beastly truck sitting in my parking lot with a dead tranny and no exhaust, both of which need addressed (obviously) before I can drive it anyway.
A couple quick stats for the bits of information I failed to mention along the way
1977 GMC Jimmy frame
1985 m1028 CUCV cab & front clip
CUCV D60 & 14bolt axles, 4.56, lsd/detroit, disk brakes on all 4 corners
6.2 diesel, th350, np203 converted to part time
Square tube front shaft, HAD 1350cv rear shaft
56" Springs at all 4 corners
Homebuilt dash & gauge panel
15/42/15 TSL's
A whole lot of sheet metal trimming